Here’s the truth: You don’t need to be a perfect writer to write a great book. You just need a clear outline. Best 10 Ways: How to Outline a Book for the First Time
Outlining is like drawing a map. It shows you where to start, what to write next, and how to finish. This article will walk you through the 10 best, beginner-friendly ways to outline a book using simple words, real-life examples, and easy steps.
Whether you want to write about your scholarship journey, personal growth, or help other students this guide is for you.
Related Post: Top 10 Reasons Why Plastic Cups Are Bad for the Environment
Best 10 Ways: How to Outline a Book for the First Time
Know Why You’re Writing Your Book
Before anything else, ask yourself:
“Why do I want to write this book?”
This is your “big reason.” Maybe you want to:
- Share your scholarship journey.
- Inspire others from your background.
- Help students avoid common mistakes.
- Make a name for yourself in your field.
Write your purpose in one sentence. For example:
“I want to write a book that helps low-income students win scholarships with simple tips I learned through experience.”
Keep this sentence in front of you as you write. It will keep you focused and motivated.
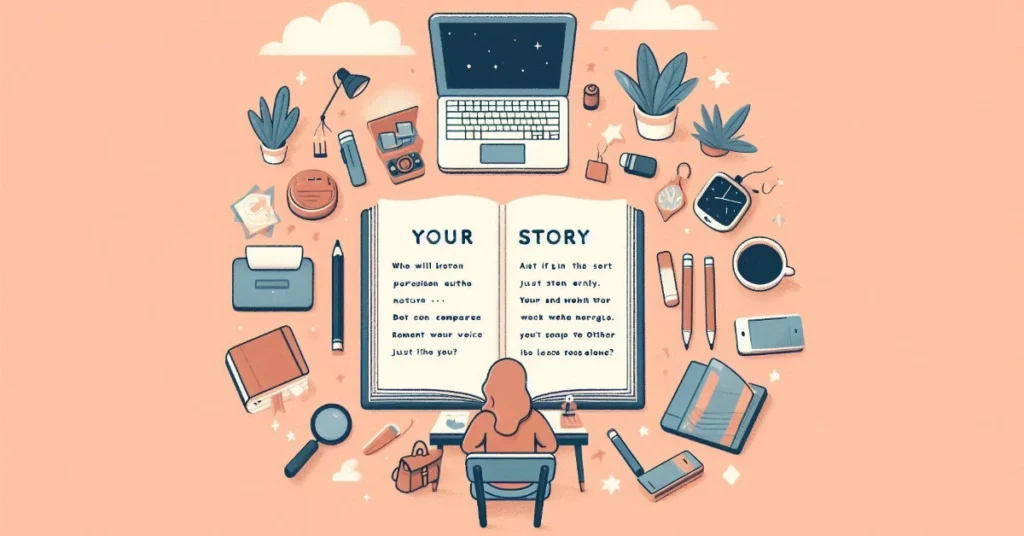
Picture Your Readers (And Talk to Them)
Every book has an audience. Imagine your reader.
- Are they high school students looking for scholarships?
- Are they first-generation college students?
- Are they international students applying abroad?
Why it matters: If you know your readers, you’ll know how to talk to them.
Example:
If your audience is high schoolers, use fun, easy words. If they’re older students, add more details about application platforms or deadlines.
Write like you’re explaining things to a friend sitting next to you.
Dump All Your Ideas on Paper (Don’t Organize Yet)
Now it’s time to pour your thoughts out. Grab a notebook, open a Google Doc, or use your phone notes.
Write down every idea you have for your book. It can be random. No need for order yet.
Example ideas:
- How I found unknown scholarships online
- The mistakes I made and what I learned
- My part-time jobs and how I managed school
- My rejection letters
- The one essay that changed everything
This step is like unpacking a suitcase before putting your clothes in drawers. Just empty your brain!
Group Similar Ideas Together (This Builds Your Chapters)
Look at all the ideas you wrote. Now start grouping similar ones. These groups will become your chapters or sections.
Here’s a sample grouping:
| Ideas | Chapter Theme |
|---|---|
| Found scholarships online, asked teachers, visited local library | Where to Find Scholarships |
| Essay tips, using Grammarly, rewriting drafts | Writing a Winning Essay |
| Dealing with rejection, staying motivated | Staying Strong Through the Journey |
This makes your book more organized and easier to read
Create a Simple Chapter List (Your Book’s Backbone)
Now let’s turn those grouped ideas into a simple chapter outline.
Here’s an example for a book called “The Scholarship Hustle”:
- My Big Why
- Where to Find Scholarships
- The Truth About Rejections
- Writing Essays That Get Noticed
- Balancing School, Work, and Applications
- The Interview: What I Learned
- Free Resources You Need to Know
- What I Wish I Knew Earlier
- Helping Others Do the Same
- Your Turn: Go Win That Scholarship!
You don’t need to write the chapters in order. Start with the one that feels easiest.
Add Bullet Points Under Each Chapter
This step adds structure. Under each chapter title, list 3 to 5 key points you’ll talk about.
Example: Chapter 4 – Writing Essays That Get Noticed
- Common mistakes I made in my first essays
- How Grammarly helped me fix grammar
- Why personal stories matter
- My “hook sentence” trick
- Real example of my winning essay
These bullet points are like mini-roadmaps. When you start writing, you’ll know exactly what to say.
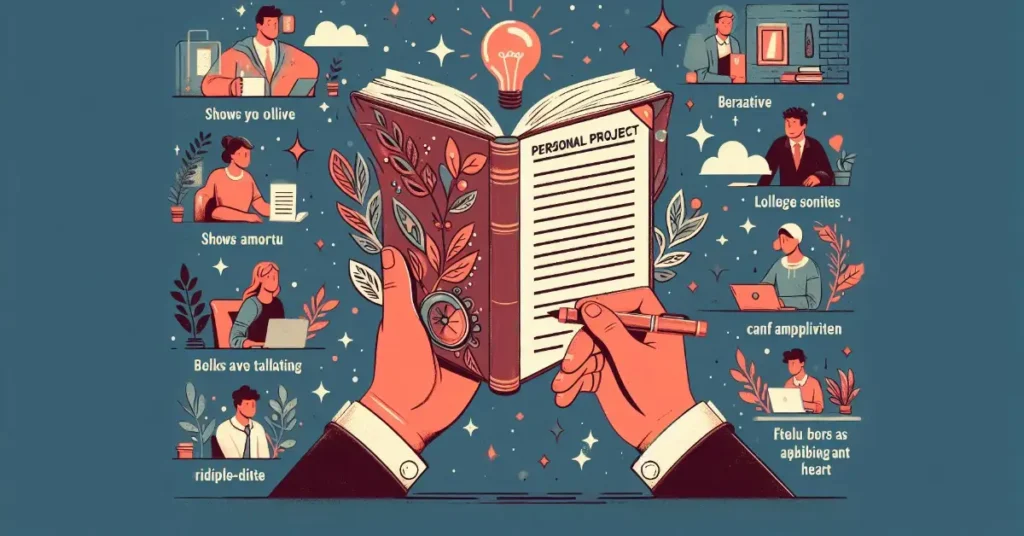
Add Your Story (Because It’s Powerful!)
A book without your personal story feels cold and dry. Readers connect with real people. Add your voice.
In each chapter, try to include:
- A personal experience
- A mistake you made
- Something that surprised you
- A moment of success
Example:
In your “Interview Chapter,” you could write about the time you wore the wrong shoes to your first interview and what you learned from it.
Don’t be afraid to be honest. Readers love truth more than perfection.
Use Tools to Organize (Free & Easy)
You don’t need expensive writing software. These free tools can help you outline your book:
| Tool | Use |
|---|---|
| Google Docs | Write and edit from anywhere |
| Trello | Make a board with cards for each chapter |
| Canva | Design your book cover |
| Grammarly | Fix spelling and grammar |
| Notion | Keep notes, links, and your outline in one place |
Pick one or two tools that feel easy to you. You can even start with a pen and notebook!
Set Writing Goals That Don’t Scare You
Writing a book can feel huge. So break it into tiny steps.
Instead of saying, “I’ll write a whole book this month,” say:
- I’ll write for 30 minutes today
- I’ll finish one chapter each week
- I’ll write just 300 words after school
Sample Mini Outline (Use This Format!)
Here’s a quick outline you can copy, adjust, and use:
Title: Scholarship Stories: My Journey from Zero to College Hero
Chapter 1: The Wake-Up Call
- Realizing college wasn’t cheap
- My family’s financial struggles
- Googling “how to pay for college”
Chapter 2: Starting the Search
- Where I looked first
- My top scholarship websites
- Asking teachers and mentors
Chapter 3: Essays That Worked
- My first terrible draft
- Rewriting with help
- My final winning piece
Chapter 4: Staying Motivated
- The rejections that hurt
- How I kept going
- Getting support from friends
Chapter 5: Giving Back
- Helping my little cousin apply
- Sharing my book online
- Hoping to inspire others like me
Bonus Tips to Make Your Outline Even Better
Here are a few quick extra tips to take your outline to the next level:
Use questions as chapter titles. Example: “Where Can I Find Scholarships Nobody Talks About?”
Keep chapters short and sharp. If it’s your first book, go for 1,000–2,000 words per chapter.
Add quotes or stats. A powerful quote from a teacher, a fact about student debt, or a stat can make your chapters pop.
Leave space for a “Your Turn” section. Let readers take action after each chapter (e.g., “Make a list of 5 scholarships today!”)
Use your outline as your motivation tracker. Cross off chapters as you finish them!
Scholarship-Focused Book Outline Table (At a Glance)
| Chapter | Topic | What It Covers |
|---|---|---|
| 1 | My Story | Who I am and why I wrote this book |
| 2 | Finding Scholarships | Where and how I searched |
| 3 | Essay Writing | What made my essays win |
| 4 | Rejection | How I handled it |
| 5 | Interview Tips | What helped me stay calm |
| 6 | Budgeting Time | Balancing school and applications |
| 7 | Free Resources | Websites, books, mentors |
| 8 | My Wins | The moment I got my scholarship |
| 9 | Helping Others | How I paid it forward |
| 10 | Final Words | Encouragement for the reader |
Your Story Can Change Someone’s Life
Outlining your book for the first time can feel overwhelming. But with these 10 simple steps, you’re now ready to start. And trust me your voice matters.
You don’t need fancy words or a writing degree. What you need is honesty, heart, and a desire to help.
Whether your book becomes a bestseller, a giveaway for other students, or just something you share with friends it will be worth it.
And one more thing
Writing a book as a student is not just brave it’s powerful. You never know who might read it and feel less alone, more confident, and more hopeful.
Best 10 Ways: How to Outline a Book for the First Time (Sample Guide for Scholarship Seekers) designed for easy readability and practical use.
Book Outline Planning Table for First-Time Writers (Scholarship-Focused)
| Step | What To Do | Helpful Questions to Ask Yourself | Example (Scholarship Book) |
|---|---|---|---|
| 1 | Define Your Purpose | Why am I writing this book? | “To help low-income students win scholarships.” |
| 2 | Know Your Readers | Who is this book for? | High school seniors from low-income families |
| 3 | Brainstorm Ideas | What should I include? | Personal story, essay tips, interview mistakes |
| 4 | Group Ideas | What topics go together? | Essays + Editing → One chapter on writing |
| 5 | Draft Chapter Titles | What will each chapter focus on? | “Finding Scholarships,” “Staying Motivated” |
| 6 | Add Bullet Points | What key points will I cover per chapter? | Chapter 3: Essay tips, story examples, edits |
| 7 | Add Personal Stories | What moments can I share? | Rejected 15 times before winning 1st scholarship |
| 8 | Use Free Tools | How will I organize my writing? | Google Docs, Trello, Grammarly |
| 9 | Set Small Goals | How can I stay consistent? | Write 20 minutes a day or 1 chapter per week |
| 10 | Keep It Flexible | Am I okay with changing the plan? | Yes! Add/remove chapters as I go |
FAQs
I’m not a good writer. Can I still outline a book?
Yes! You don’t need to be perfect. Your real story matters more than big words. Just start with simple ideas and organize them using an outline. Writing gets easier the more you do it!
How long should my scholarship-focused book be?
Aim for 5,000 to 20,000 words. Even a short book of 30–40 pages is enough to impress. Focus on clear, honest content not length.
What if I lose motivation halfway?
It’s normal! Use your outline to stay on track. Set small goals, take breaks, and remind yourself why your story matters. Keep going one step at a time.
Can outlining really help with scholarships?
Yes! It sharpens your story and gives you great material for essays or interviews. A well-outlined book can even show leadership and creativity qualities scholarship panels love.
What’s the easiest way to start?
Write a working title, list 5–10 chapters, and add 2–3 bullet points under each. Include real-life stories. That’s your outline simple and powerful.
Start Today
Take just 15 minutes. Write down your book idea and list 5 chapter ideas. That’s it. You’re already ahead of 99% of people who only dream.
It can help creating a free outline template or writing your first page